Sugar Shoes

Before going into the baking business full time, I worked as an office manager of an environmental laboratory.

I was the girl, who matched her shoes to every outfit.  My closet had 63 pairs of heels on display.  All colors, textures and heel heights.

I Love High Heels....but I have been wearing chef crocks for 24 years and now...

 I make heels out of sugar.


This Blue dress slipper features a ruffle and pearls.  I wish I had taken more pictures of this beauty, however, a client stopped by to order a cake and saw the shoe in progress and wanted it for her cake.  I also neglected to get a final picture of the cake, which I do a lot.


Both of these shoe designs where found on the web.  They are not my design.  This open toe is made to look like suede.  I did this by dry brushing petal dust with a small amount of shortening and then a light overcoat of cornstarch gives it a soft looking finish.


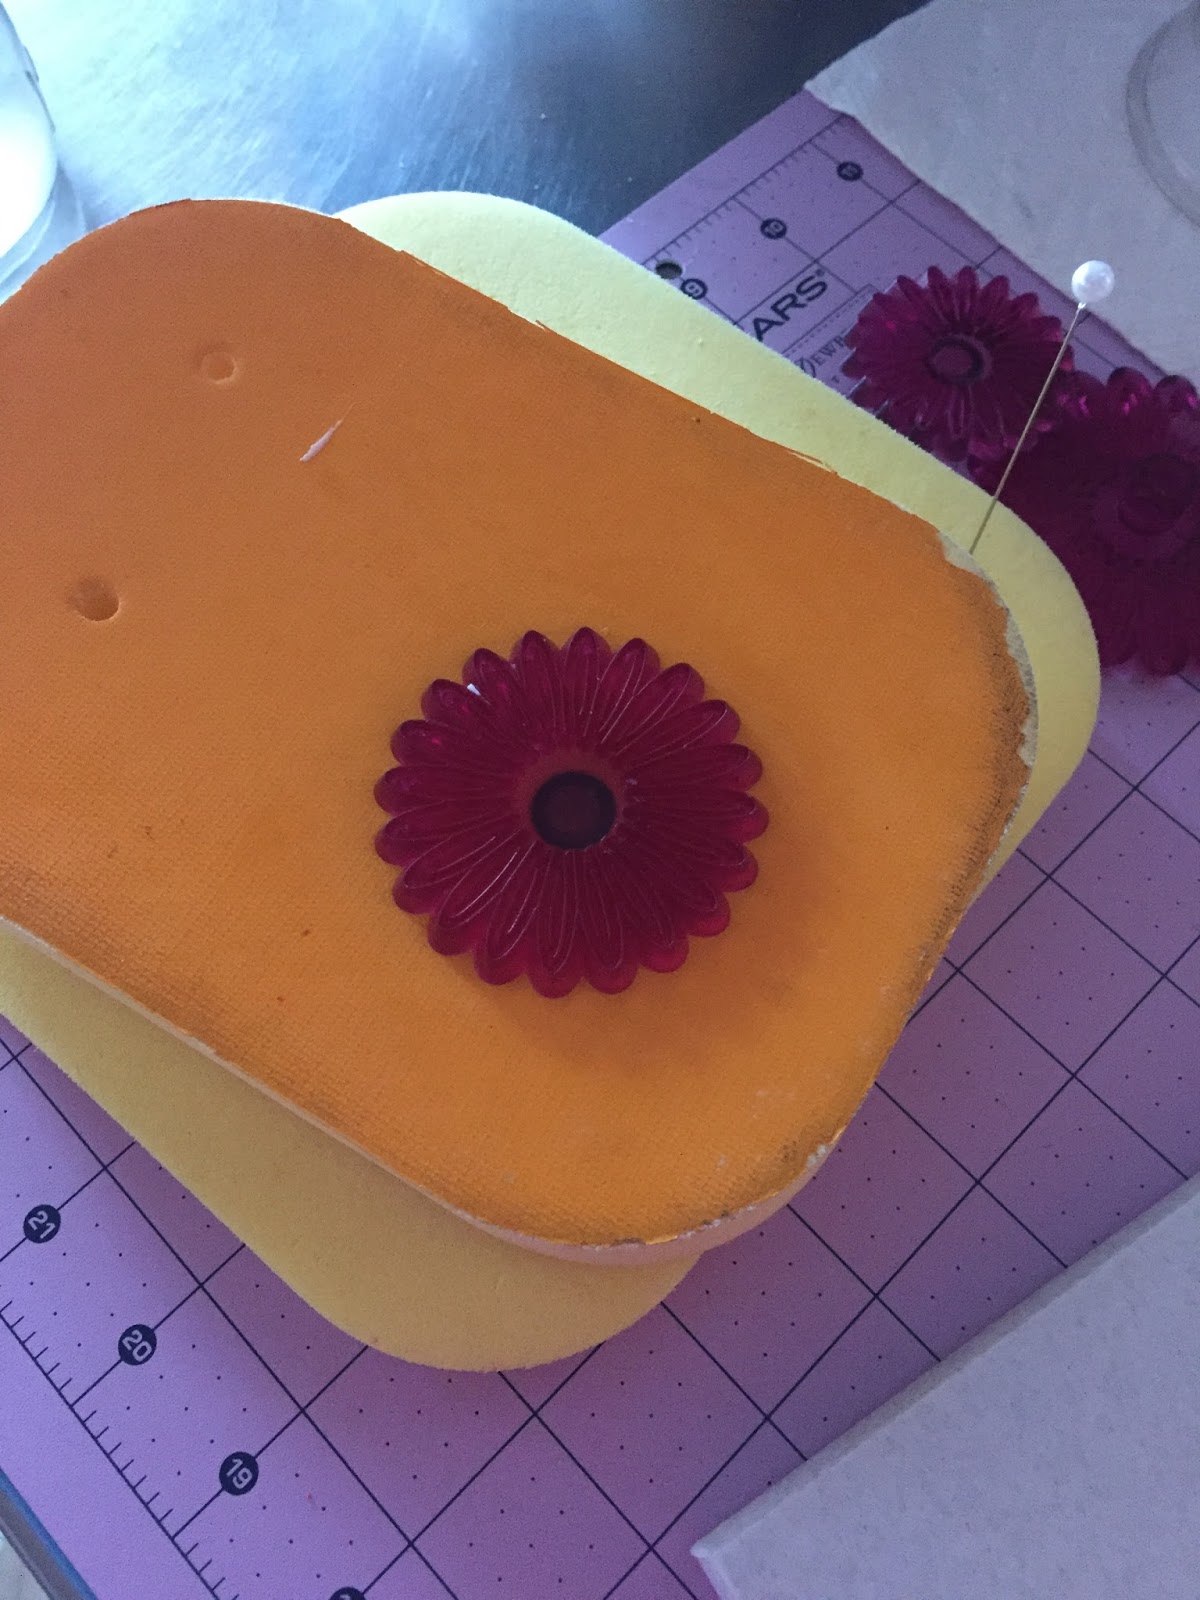
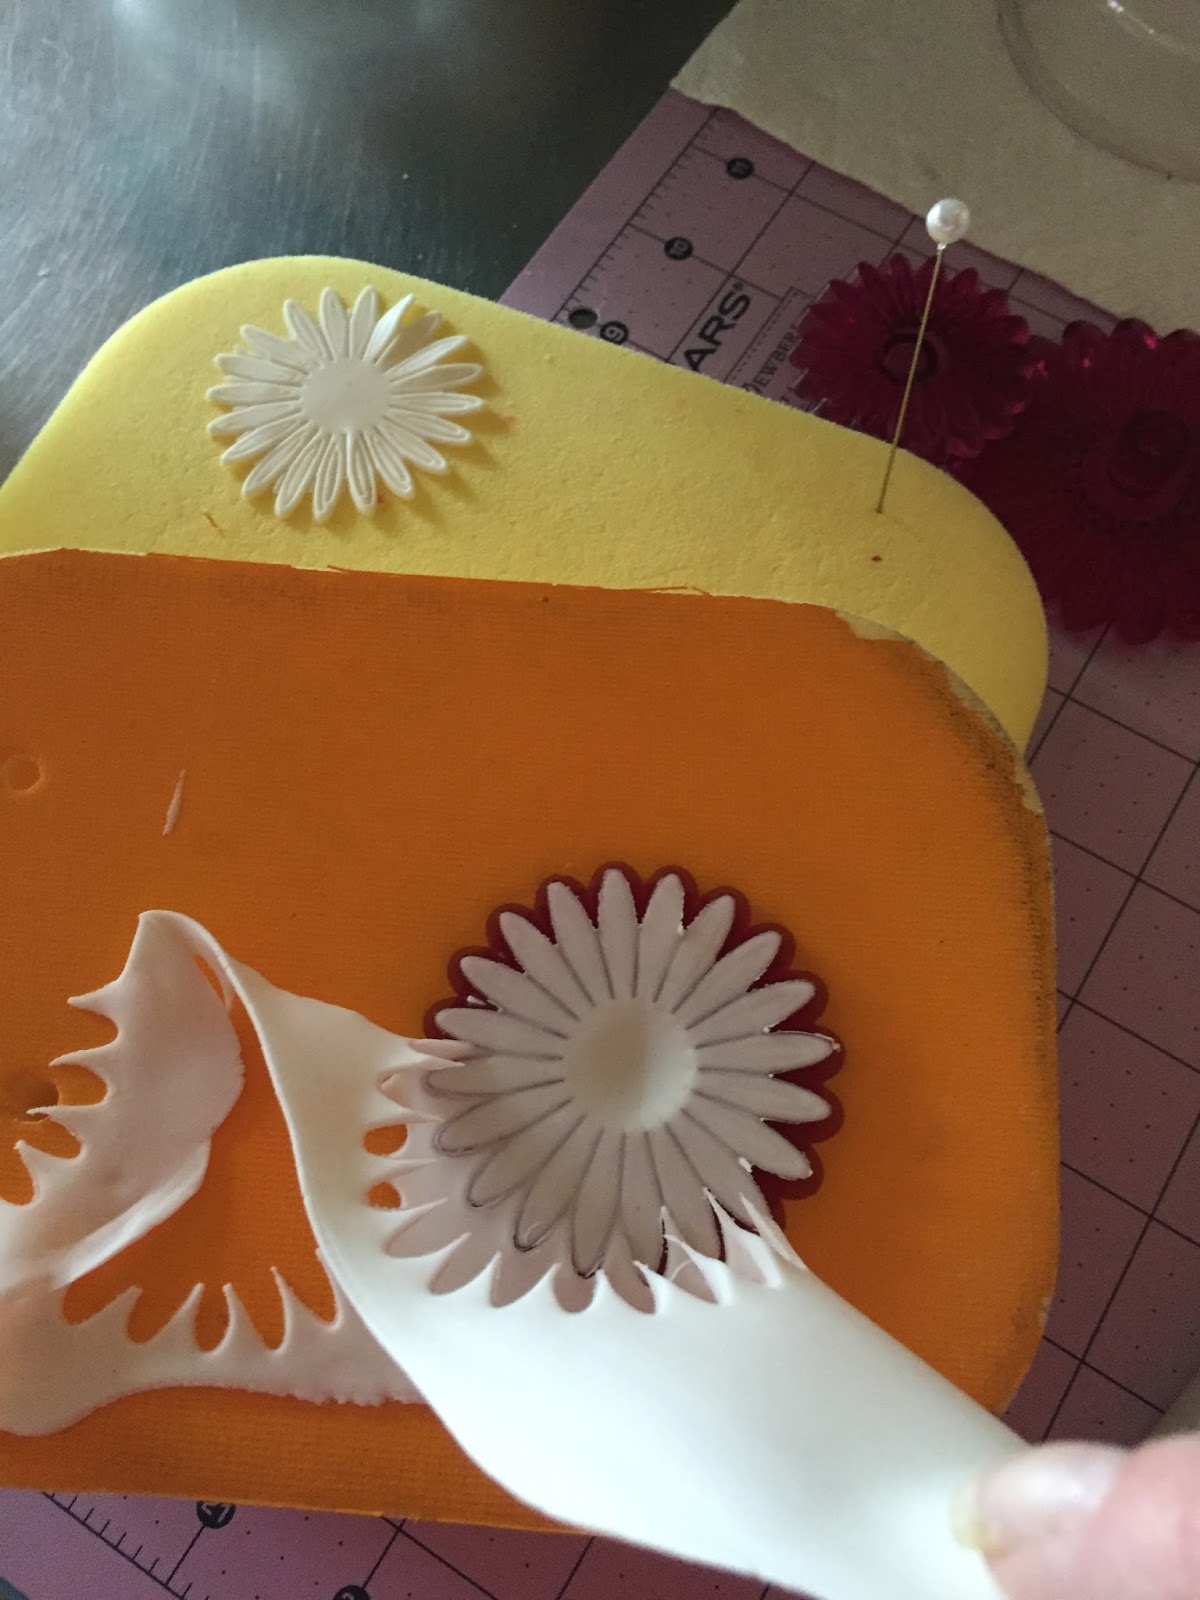
The third design was the last in this series and I took pictures of most of the process.


This shoe was used on a previous cake it was posted under the title of 75 years of bling  

Mountain Laurel

A fellow cake enthusiast was creating a cake for her full time employer. Mary works at a Pennsylvania State facility and the state flower is Mountain Laurel.

Start with an 18 gauge wire and four double tipped white stamen with a small seed head.  Bend the stamen in half and insert the wire and bend your wire as pictured. 


Tape the stamen and wire.


Using tweezers, bend each stamen.  It should look like an umbrella rib.


Using Christmas Red airbrush color, carefully paint just the tip of the seed head and set aside to throughly dry.


This is the medium petunia flower cutter used to cut very thin gumpaste.


Turn the paste over, and using a veining tool, gently score the petal as pictured.


 Again turn your petal to the top, you can see the scores made to the back of the petals.


Now you need to score the center of each petal on the face of the flower.


This give the flower a very distinct pattern


Using red airbrush color and a fine paint brush, paint in the star and then 
paint the center of the star with green.


Finally, insert the stamen and place in a cupping form to finish drying.


This flower grows in groupings on a large bush which has long slender leafs.


"OZ" Barn Wedding

A very dear friend sent a client to me for a consultation...
The young women looked over this blog and chose a few cakes that she liked, but wanted the final cake to have a clean and simple design.  

The brides flowers were the "field flowers" of nature.  I put together sprays of daisies,  lavender, bramble, black-eyed susans, queen-anna lace, violets and posies.  


My friend had stopped over the night before the wedding to catch up on our lives and mentioned in passing that she had been helping set-up the barn for the reception and it was all based on 
The Wizard Of Oz.   
I was thrilled to put this to use on the final cake.  So at the base of each tier I used the yellow brick road.  If I had this information prior, I would have also included the red poppy flowers from the movie.


It was a very rainy morning and a slight chill in the air when we went to deliver.  Rain on a wedding day is good luck, however, rain is not good for sugar flowers.  LOL

As we arrived and located the reception barn we were thrilled to see we could back up inside the building to unload the cake, therefore, avoiding any water damage to the sugar flowers.

First let me say, this location in all its rustiness was exquisite...gravel floor, long tables a wooden dance floor, strings of lights....just simple and elegant.

As I began putting the finishing touches to the cake I see a large picture of the "Field of Poppy's" that served as the backdrop for the cake table.  


The bride also had cupcakes which just added to the overall presentation.  

Simple, Elegant, BEAUTIFUL...


Anthony and Teirney

Till Death Do Us Part...

This three tier cake features red gumpaste sunflowers, barley and hops as well as two white chocolate turtle-doves and a white chocolate skull.

The message was printed on edible paper and applied to freshly rolled fondant.  The fondant was then placed on foam, to crust overnight.


The barley and hops were very important elements to the couple as they are planning to open a micro brewery in the near future.  The couple call each other "Dove" so I incorporated the doves into the display.

The bottom tier was vanilla sponge soaked in sweet rum, the filling is cannoli.  
The middle tier was red velvet with cream cheese filling and the top was the grooms favorite, spice cake with apple butter cream cheese.


Retirement Kitty


A lovely lady was planning her own retirement party and requested a familiar kitty, however, she wanted said kitty to be dressed in her uniform.  

Using fondant I rolled out a large thick piece of white and cut the overall shape with an X-Acto knife.  The edges were tapered by finger pressure as well as overall relief given to the entire shape.  I left the body to dry a day or two.

Using grey and black fondant, the shirt and pants were created.  The little state patch was printed on edible paper and placed on the sleeve.  I just love the little buttons on the front of the shirt.  The bow on her head is molded from Marvelous Molds bow molds.   

The cake was trimmed with a shell boarder.   Gumpaste daisies and purse added to the girly design.


Happy Retirement Jackie!!

Hello Cake Enthusiast

My husband and I are on a course change of life. 

 After 36 years of work in the Gas and Oil business, he has been dismissed from his employer do to state wide cutback in drilling. 

Our house sold so quickly, 12 hours on the market, I needed to finish cakes that where ordered and host a wedding for one of our  sons plus pack the contents of the house to be trucked to two storage units until our new place is built.  

We made the decision to relocate to Nashville Tennessee.
  Our twin sons are in the Grammy Nominated rock band called RED, our daughter-in-laws and grandchildren were 10 hours from us, so we moved to be with family.  My husband has been working for three months and I will again open my cake business here in Tennessee.

I have a few posts to add from PA cakes and will continue to post once I have my new shop up and running.  

I Thank YOU for following me and look forward to a new start here in Tennessee.


Wildflowers

Its spring and the wildflowers are in bloom!


I am making a number of flowers in this post.  First is Lavender.  
Using a small calyx cutter for the daisy,  cut purple gumpaste  three times and then cut the calyx in half, making six flower.


Thinning the four little petals then apply gum glue to the flat bottom, gently wrap one around a 32 gauge wire.  


Repeat this process with all six petals.


Next is the shasta daisy.  
(I often make centers for flowers when I have a small amount of gumpaste in a partial color, so that I never have waste.  I can then make a flower on a quick turn-a-round as the centers are fully dried and will support the flower petals.)


 This is a center pistol mat from Cel-Cakes in the UK.  I choose the size pistol needed and fill it with gumpaste.


Using a spatula and working from the center to the outer edge, remove the extra gumpaste.


As the pistols are very thin and delicate I use a hat pin to help remove it from the form.


A center is then inserted.  I generally add two pistols for a full effect.


The outer petals of the daisy are then cut. Here I place the cutter face side up.  Rolling the paste very thin and lay it over the cutter


Using the rolling pin gently roll over the surface of the cutter to get a clean cut.


Gently pull the extra paste away from the cut flower.


Again using a hat pin, pull the petals away from the edge of the cutter and insert your finished center. I like movement in the flower so I dry the first row of petals on Cel-Cake flower forms for about 20 minutes before adding a second row of petals.  Remember to off-set the second row of petals for a full effect.


The wildflowers are ready for the cake.  Lavender, Violets, Thistle,  Cherry blossoms, Black eyed Susan, and Daisies.


Ashton's B-day


Four - 9" x 1" rounds of Lemon cake where baked and cooled. The layers where cut into a hand shape by laying my left hand over the cake and carefully cutting out the shape with my right hand.  Next the layers were filled with Raspberry compote.  


A divot was cut out of the palm, making a place for a baseball.  The cake was crumb coated with whipped chocolate and chilled several hours before applying brown fondant, creating a baseball mitt.


The mitt was returned to refrigerator to chill, while I frosted and trimmed the base cake.  

White buttercream and a grass tip was used for a "field" texture.  The baseball was made of cake ball and covered in whipped chocolate and then yellow fondant.  Again I got to use my stitch maker for the ball marking (first used in a previous post for baseball roses).

The message was cut from FFM fancy alphabet cutters.


Happy Birthday Ashton!