Sweet Pea


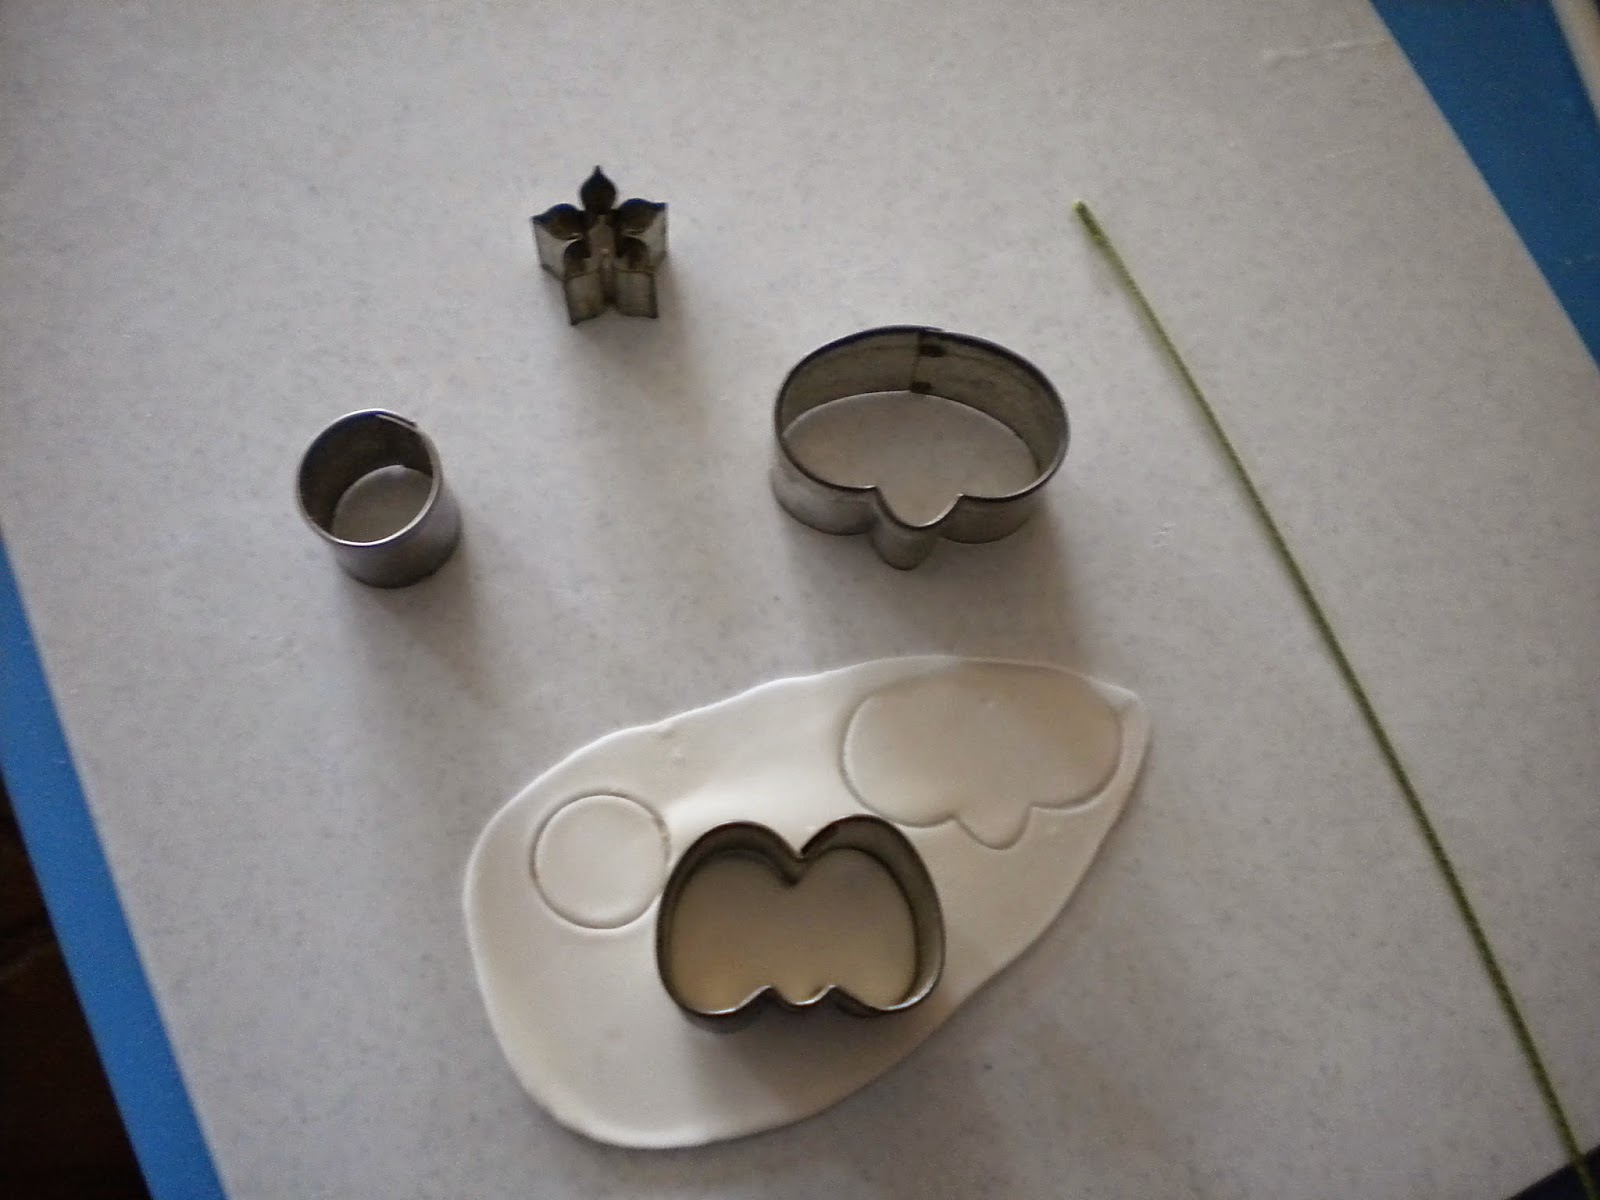
The Sweet Pea cutter set was purchased many years ago at an ICES Convention, I apologize that I do not remember the company, but many companies still sell this flower cutter.


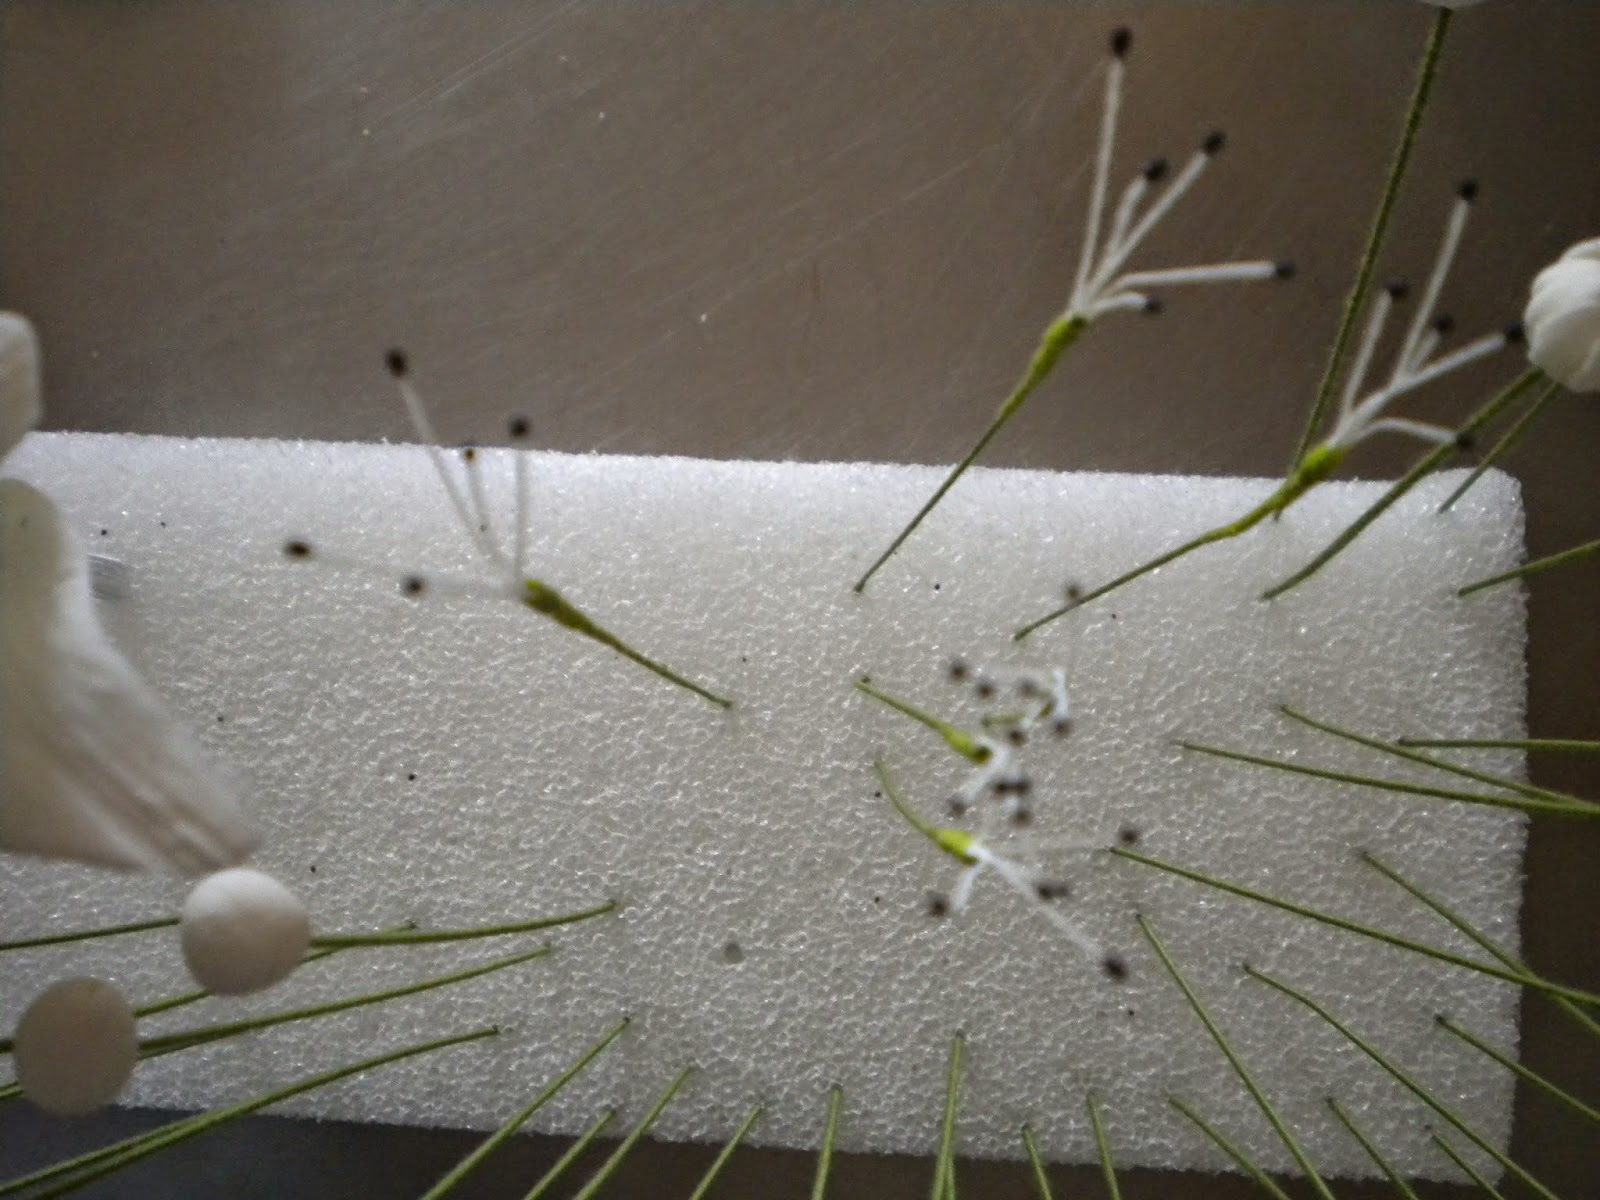
As aways you need a center.  Here I have cut a circle and wrapped it around a 26 gauge wire.  The little "flag" is the back of the center.  


Using the wing cutter, gentle thin the edges and slightly cup the outer edge.  Apply glue to the flag of your center and line up the wing petal with the tip down.  Gently press with a pinch to hold the wing in place.  It is not necessary to dry at this point, continue on with your entire number of flowers needed before adding the outer petal.


The outer petal is the one that looks like an air bubble from a comic strip.  Again you will thin the edges and you will need to slightly cup the entire surface of this petal.  Put a thin line of gum glue down the center and attach it to the competed first petal in the same manner.


This is a side view and a front view of the flower petals.  You will finish with a small green calax.  


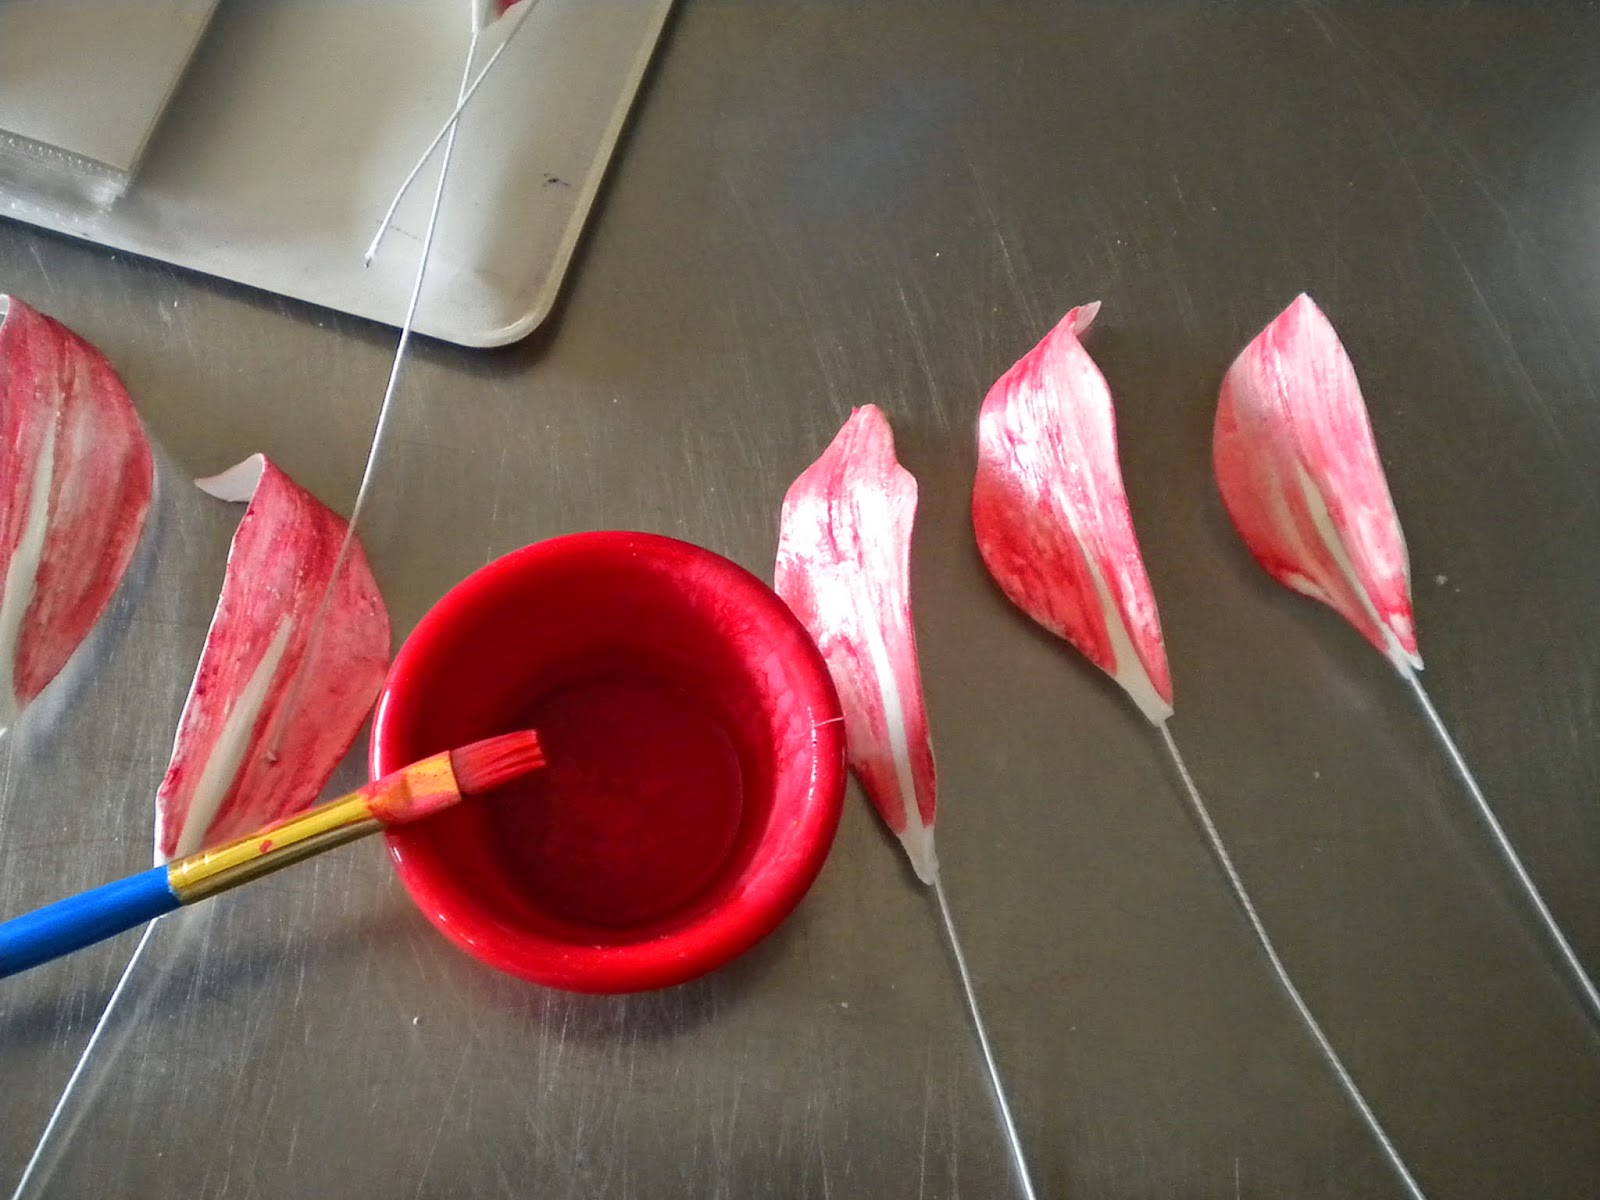
I leave this flower at this point and store them.  When they are needed, I color the necessary shade with airbrush or petal dust and then I add the calyx before adding to my arrangement.

A day of Golf

Jim was celebrating a birthday and a round of golf.

This cake is an 8"Black Forrest cake with Cherry Compote filling.  

I frosted the cake with white buttercream.  Using a scalloped pieces of stencil plastic, I airbrushed a sky of clouds and field of grass around the side of the cake.


On the top I airbrushed most of the surface green, leaving a spot for blue color, which I applied pipping gel to create a water hazard and crushed graham cracker for a sand trap.

I used a grass tip for the boarder at the top and base, as well as in the out-of-bounds on the surface.

To finish the cake I applied a fondant golf bag and clubs to the side and pipped on the birthday message.

Yellow Calla Lilly Wedding

In a fast pace busy world, a simple elegant design makes a bigger-than-life statement.


This wedding was elegant and intimate.  The base tier was a 10" Banana Cake with Banana custard, the middle layer was a 7" Turtle cake with a Caramel Mousse and the top was a 3"Chocolate cake with Fudge filling.

The buttercream is candlelight white and features a three dot pipped pattern using a Ateco #2 round tip along with a buttercream ribbon made by using a ex-large rose tip.  Six yellow Calla Lilly's made of gumpaste adorn the sides and top.

As the table was bare when I set up the cake,  I assume the pictures are of the parents of the bride and groom on their respective wedding days (notice in the big mirror there are two frames).  I just love how the picture looks like the one couples is cutting this cake.  The glass pedestal belong to one of the parents from their wedding day.


This picture was sent to me, along with a lovely thank you card.  

Hello Pretty Kitty

I have a granddaughter who loves Hello Kitty.


To start this cake, using the Wilton gumpaste cutters, I cut out several five petal flowers and thinned them slightly.  Using an Ateco #12 round tip, I cut the centers for each flower.  


I printed the Kitty from a coloring page on the internet and airbrushed in her color.


The cake was and 8" White cake with Fresh Strawberry Compote.  The sides of the cake were frosted in pink buttercream and the top was white buttercream with shell piping in white all around.  The  Kitty was placed on top and the flowers were placed on the sides.  Small icing flowers accented all around.

Mums


This styrofoam is a little confusing as it contains several stamen.  The one need are the little round balls as we are making mums.  

The easiest way to make sure all the centers are the same size is to roll out your paste and using a large round frosting tip as your cutter.  Roll each of the round cuts into a ball and glue to a 26 gauge wire.  Dry these overnight.

Below are several size daisy cutters.  Starting with the smallest cutter cut you gumpaste twice with this size.  


Place the cut petals on a foam block and using the rounded end of the small Cel-Stick, cup each petal starting at the top or outer edge of each petal and pull it toward the center.  When all petals are cupped, lightly glue the ball center and insert the wire into the center of your petal and gently pull it up around the ball.  Repeat these steps with your second cut of petals.


As you will more than likely work on several flowers at once it is not necessary to let the petals dry at this point as they will crust over and be ready for the next two rows of petals by the time you get back to the first center.

You will need to repeat the above process with the next two sizes of the cutters.  At this point your flower may not want to hold the petals up in the cupped shape.  You can help it by using a Cel Flower Former or an individual cup from an egg carton.  At this point let the flowers dry overnight.  

For the next three sizes of the cutters you can hang your flower upside down to dry.  This gives the finished flower a very natural shape.  


Mums are grown in a variety of colors and it is often sprayed a by florist to match the colors needed in bouquets.  I also make this flower in white paste only, as I can use it in any arrangement and make it the color I need by airbrush or petal dust.


Lady Bug


Sweet little Alyssa is celebrating her First Birthday.

This little lady wanted a lady bug cake.  Here I have carved an 8", 6", 4" cake to  create the body of the bug.  The head was baked in a small half ball pan.

While the marble cake was baking, I created the antlers, eyes, mouth and dots from fondant and left them to dry overnight ( they do not dry like gumpaste, but do get stiff enough to hold shape and handle without damage.  This allows the children to eat all the parts of the cake.)   The next morning I filled the cake with buttercream and carved the body.  

The parts where covered in fondant and adorned with the prepared embellishments.  The split in the wings is done using fresh cut fondant, so that it would drape the shape of the cake.  A grass tip was used  around the lady bug and a no. 2 round tip was used for the message.

Nurse


This little beauty was for a  young women completing her Nursing classes and celebrating her birthday.  

The professional items where made from white chocolate clay and painted with petal dust.  The roses are gumpaste.

The cake was an 8" and 6" Chocolate cake with fudge filling. It was frosted in pink buttercream and a shell tip was used to create the borders.


Swan and Moth Orchid Anniversary Cake


This is the very first gumpaste tool I every purchased.   It is very useful for creation bark and fur.


You simple press it into the paste to get the texture.


For the Swan, I started with a piece of paste which I rolled and molded over the backside of a cupcake pan. Once the cup was dried,  I hand molded the neck of the swan and allowed it to dry to the cup.  

Now the fun starts... 
 The wings are a mold purchased from Cel Cake in the UK.   Un-mold your paste and air dry on the back side of a spoon while working on the body of the swan.   The paste should not dry completely, but enough, to hold the bent shape of the spoon so as to curve around the body of the swan.

The feathers are very thin paste glued to the cup and neck and embossed the the above tool.  You do not need to be overly careful with this technique and may piece the paste, as your tool will feather all of the places you have pieced together.  Thinned gel color was used to paint the eyes and beck.


The final cake was a 13" oval layer of White cake and fresh strawberries and the top tier was 6" round Chocolate cake with strawberries.  The cake was frosted in buttercream and featured gold fondant (50th Anniversary) scalloped ribbon at the base of the tier as well as pipped scallops along the sides and pipped shell boarder at the top of each tier.

The flowers were the moth orchid and stephanotis, made of gumpaste.

Hot Pink Day Lilly

Start the flower by creating the pistol.  
This is done by using a 20 gauge wire which I moisten and then insert it into a pea size amount of green gumpaste.  
Using your thumb and pointer finger, roll the paste gently up the wire leaving a small bulb at the base (about 2" down) and gradually getting smaller and thinner as you reach the top of the wire.  You can roll four very tiny balls of paste and glue them to the end of the wire creating the top of the pistol.  
Here I have used the tiny Hydrangea Center by Scott Clark Wooley.  Mr. Wolley makes well-made and useful Gumpaste equipment and you can find him on line at   www.cakesbydesign.com 


You will need to attach six lilly-stamen to the center once it has dried.


Here I have several size leaf cutters from several vendors, the green one is from the Wilton gumpaste set.  
Some Lilly's require two different size petals; however, day Lilly's are all the same size petal.

The petal veiner is from a company no longer in business, but there are many vendors who have veiners.

I roll white gumpaste on a Cel-Board with the long vein.  I cut three petals and insert a 26gauge wire into the vein and then press the petal in-between the vein impression and set it inside a styrofoam Lilly cup also purchased from Cel Cake in the UK.


Each flower will require six petals, so repeat the step above until you have all the required petals.


These Lilly's are to be dark pink.  Here I am using a mixture of gel color and lemon extract to paint each leaf front.  Notice I have left a white strip at the base of each petal ( these flowers grow in an array of colors but not all require the white stripe)

Before wiring the six petal around a pistol and stamen, I dust a pale green petal dust at the base end of the leaf.


You may also color the petals with dust.  This petal dust will need steam to set the dust so that you get a slight shine on the finished flower and dust does not get all over the frosting.

Tape three petals around the pistol and stamen, then tape three additional petals in between the first three petals.  Now dust or paint the back side of the flower and attach a calyx to the base of the flower Tape your stem with green floral tape and your flower is finished.


Pink Rose Wedding Cake

Black is a very elegant color on a wedding cake.  In this design, small black dot-groupings where placed on the second tier.


The pale pink gumpaste roses where made well in advance of the wedding day.  As gumpaste flowers keep very well in a dry place, I start making the flower as soon as the cake deposit is paid.  I have a room just for the drying flowers.  Once they are dry they are placed in a container for safe storage unit they are needed.


This cake is covered in a candle white buttercream with pale pink filagree pipped using a No.2 round tip.  The cake consisted of a 16", 12", 8" and 6" serving 200 guests.  It entire cake was White Cake and Fresh Strawberry Compote.